Last updated November 22, 2026
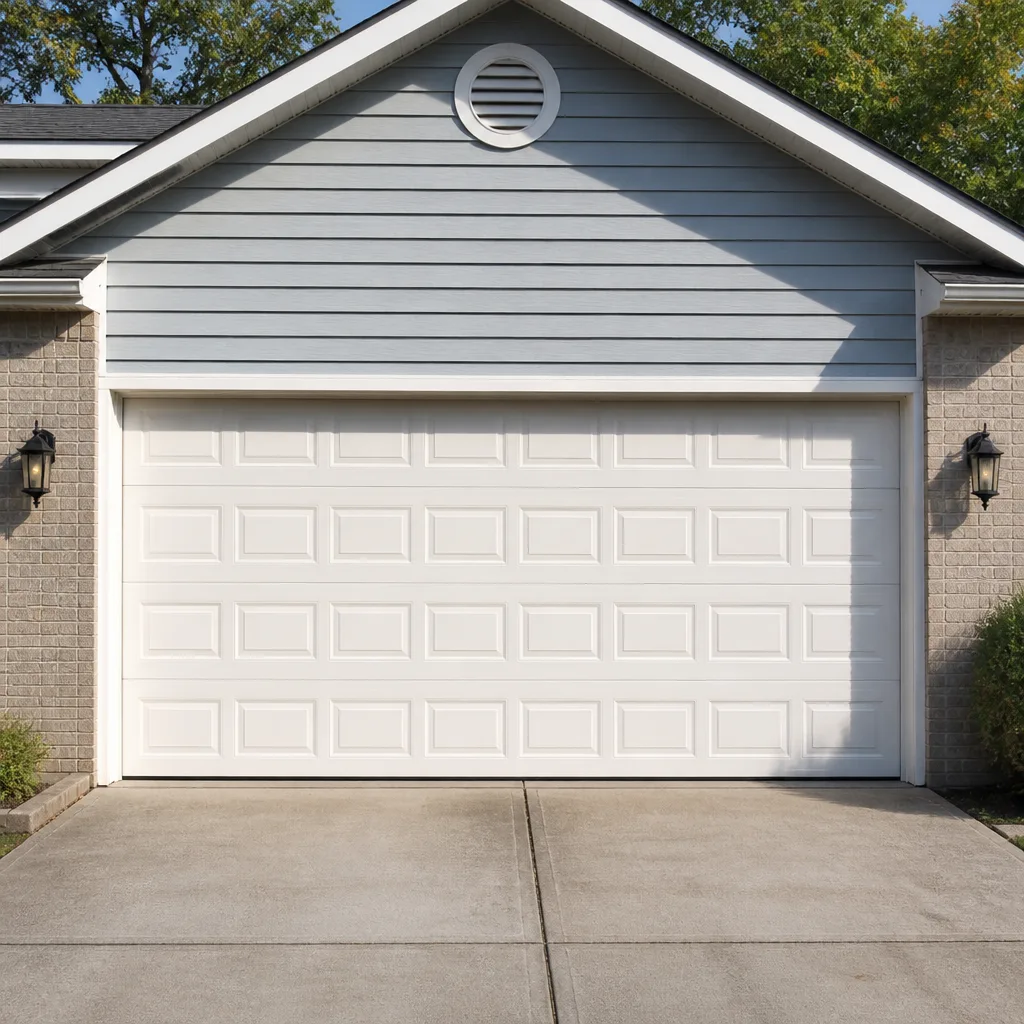 Raised-panel steel
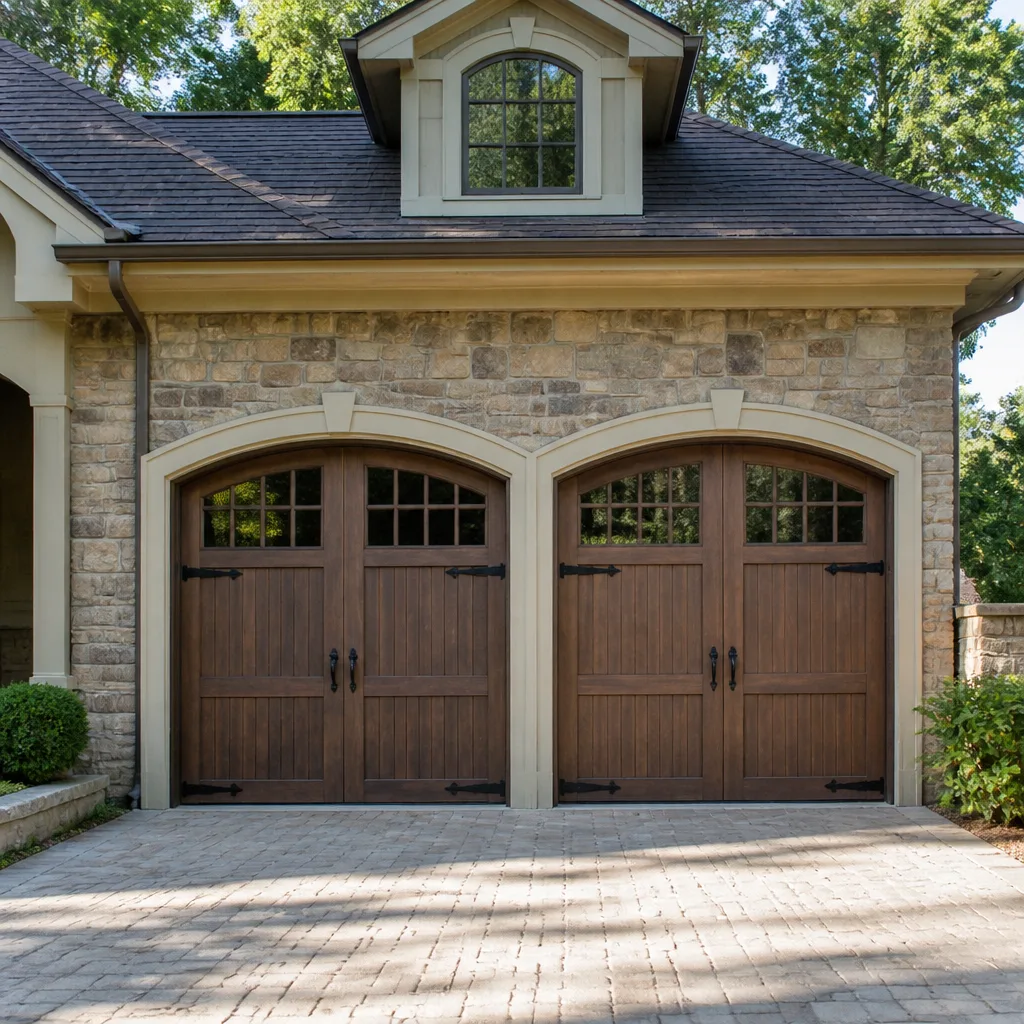 Carriage house
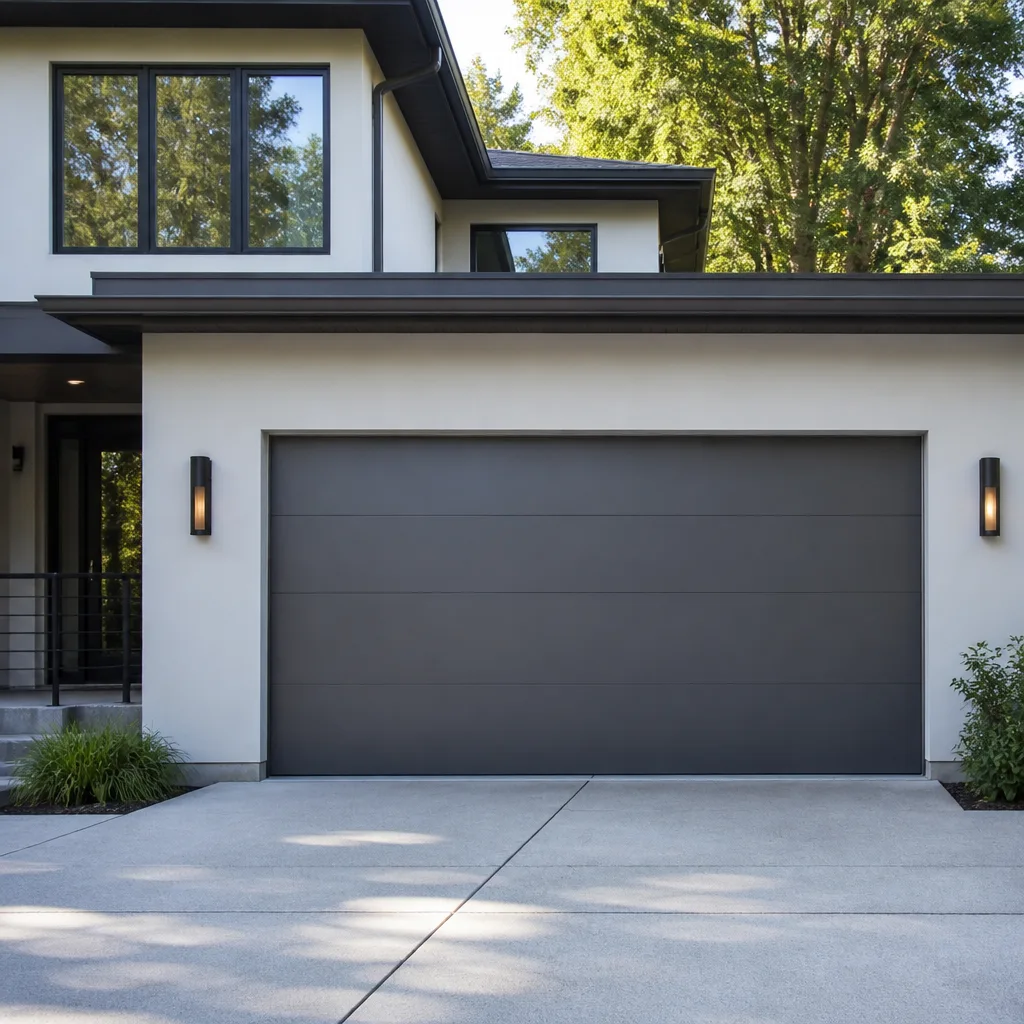 Modern flush
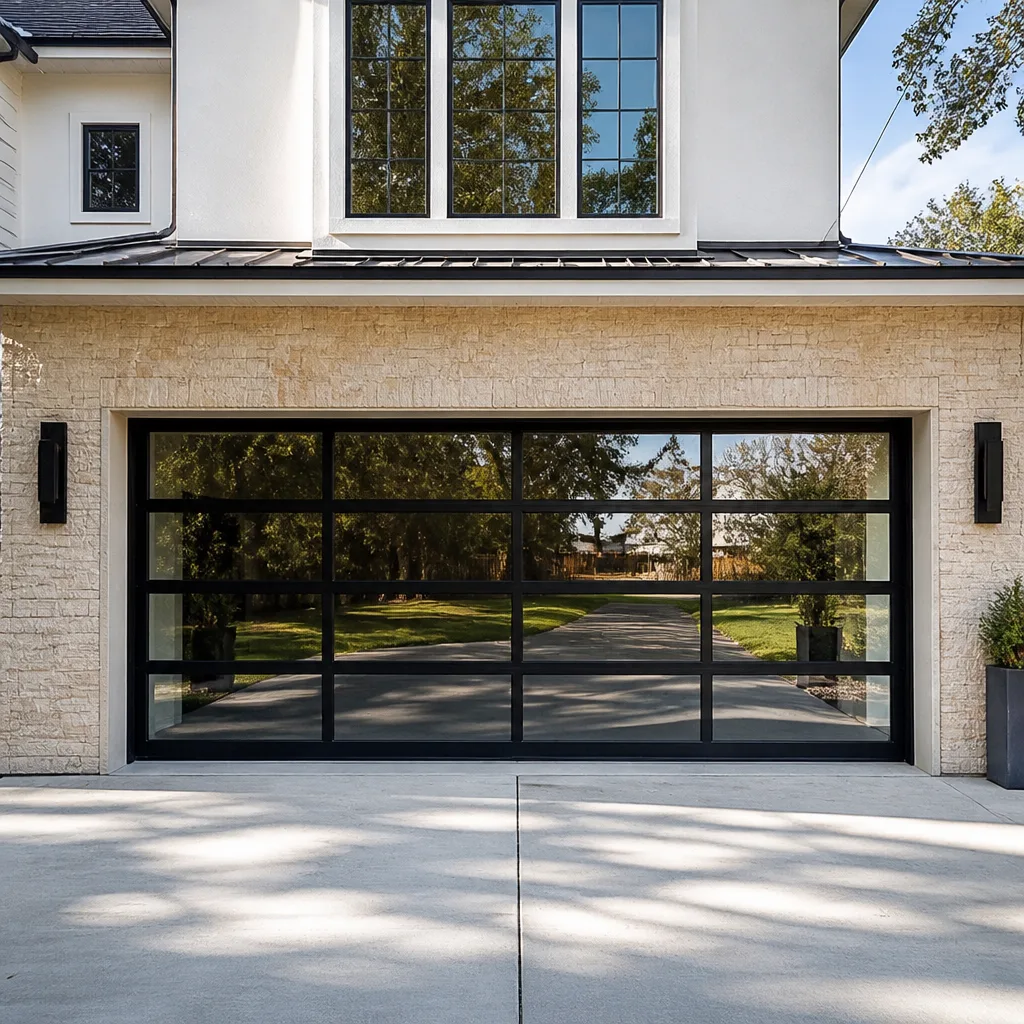 Full-view glass
 LiftMaster openers
 Chamberlain openers
Full 25-point door and opener safety check with every visit - springs, cables, rollers, tracks, and your LiftMaster or Chamberlain opener included
You get a price before we start. It does not change when the pro arrives.
Get your free estimateGarage Door Repair Maintenance Checklist for Centreville Homeowners
A spring that’s about to fail usually leaves a warning first. It’s rarely loud, and it’s almost never the thing homeowners look at. While most checklists stop at “lubricate the moving parts and test the auto-reverse,” the useful work happens at the component level: a torsion spring with a widening gap, a cable in its second stage of fraying, a roller flat-spotted hard enough to start chewing the track. This guide walks through each part of the door the way we check them on a service call, so you can tell a small adjustment from a genuine hazard before you pick up the phone. It’s written for Centreville homes, where humid summers and cold snaps put a specific kind of wear on garage doors.
Quick Answer
A garage door maintenance checklist for Centreville homes should cover springs, cables, rollers, tracks, hinges, weather seals, the balance test, and the opener’s force and auto-reverse settings, run once in spring and once in fall. Most of it is a ten-minute visual inspection you can do safely with the door closed and the opener disconnected. Anything involving springs, cables, or torsion hardware under tension belongs to a trained technician, not a homeowner.
Styles & brands we work with
- Raised-panel steel
- Carriage house
- Modern flush
- Full-view glass
- LiftMaster openers
- Chamberlain openers
Table of Contents
- How to Inspect Torsion vs. Extension Springs
- Cable Fraying Stages and Tension Imbalance
- Roller Wear Patterns That Predict Track Damage
- The Centreville Seasonal Lubrication Schedule
- The Opener Force-Setting Test Most Homeowners Skip
- The Balance Test and Manual Release Check
- Weather Seals and What Virginia Humidity Does to Them
- Matching the Checklist to Your Door and Opener Brand
How to Inspect Torsion vs. Extension Springs
Springs are the highest-stress part of the system and the one most homeowners misunderstand. A torsion spring sits on a horizontal shaft above the door, twisted to store energy. An extension spring runs along each side horizontally, stretched when the door closes. Both are under hundreds of pounds of tension. The difference matters because the failure signals and the inspection method differ.
What to check on a torsion spring, viewed from the floor with the door fully closed:
- Gap formation. A healthy coil looks like a tight, even spiral. When the wire starts to fatigue, a gap opens between individual coils near the cone. That gap is the earliest sign the spring is losing tension and heading toward failure.
- Rust pitting. Small rust spots are cosmetic. Deep pitting along the wire is not, because it thins the cross-section and creates a stress point. In Centreville, where summer humidity runs high in a closed garage, pitting forms faster than in drier climates.
- Coil deformation. Any kink, flat spot, or uneven coil spacing means the spring has been stressed beyond its design and needs replacement, not repair.
- Paint stripe color. The colored stripe on a torsion spring codes its wire size. If a prior replacement used the wrong spring, the door will feel heavy or slam, and the springs wear out early.
What to check on extension springs, viewed from the side with the door closed:
- Stretch along the length: a spring that hangs loose or has lost its curl has weakened.
- Safety cables: every extension spring should run through a steel cable that contains it if it breaks. Missing safety cables are a hazard worth fixing on the spot.
- Hook and bracket wear: look for stretched hooks, worn bushings, or rust at the mounting points.
Never try to adjust, unwind, or remove a spring yourself. The stored energy can release without warning. If any of the signals above show up, that’s a job for a trained technician. We handle garage door spring repair as a dedicated service because springs are the repair most often done wrong by generalists.
Cable Fraying Stages and Tension Imbalance
On a standard torsion system, two cables run from the bottom corners of the door up to drums on the shaft. They don’t lift the door; they keep it level and balanced. A cable that fails can let one side of the door drop, which is why cable inspection is a safety check, not a formality. Cables fail in stages, and knowing the stages tells you how urgent the fix is.
Stage 1: Cosmetic fraying
A few stray strands sticking out near the drum, with the cable still tight and even, is a watch item. Note it and check again in a month. It’s not a call-out on its own, but it’s the beginning of the clock.
Stage 2: Visible strand separation
When several strands have separated and the cable looks like a frayed rope, the cable has lost a meaningful share of its strength. This is the point to schedule a replacement. Don’t wait for a break; a broken cable under tension can whip.
Stage 3: Bird-caging or a snapped cable
A cable that has coiled back on itself or snapped entirely means the door is now supported unevenly, and the springs may be overloaded on the intact side. Stop using the door. This is a hazard, and it belongs to a technician. This is the same category as a broken spring: call for help, don’t operate the door.
Signs of tension imbalance on a two-cable system:
- The door lifts crookedly, with one corner higher than the other.
- The door grinds or rubs on one side of the track but runs clean on the other.
- One cable feels tight and the other has visible slack when the door is closed.
- The door drifts to one side when raised halfway and released.
Any of these mean the system needs a professional adjustment, because a tension imbalance stresses both cables and both springs at once. If the door is also failing to open or close reliably, that overlaps with garage door repair territory and is worth diagnosing together rather than treating as two separate problems.
Roller Wear Patterns That Predict Track Damage
Rollers are the cheapest part on the door and the most common cause of noise, vibration, and premature track wear. There are two types: steel rollers (durable, noisier) and nylon rollers (quieter, smoother, wear faster). On a Centreville door, the humidity swings between seasons mean nylon rollers can develop flat spots faster than you’d expect. Catching roller wear early is a small parts bill. Missing it turns into a track job.
Roller wear signatures, in order of severity
- Surface scoring. Light scratches on the roller face are cosmetic. A clean and lube is usually enough.
- Flat spots. A roller that no longer rolls smoothly has a flat spot where the bearing has seized. It drags along the track, generating noise and uneven motion. Replace it before it deforms the track.
- Loose bearing / wobble. If the roller wobbles on its stem, the bearing is failing. Wobble produces track chatter and accelerates wear on the neighbouring rollers.
- Track deformation. A wavy or bent section of track directly above a bad roller is the tell-tale sign of late detection. At this point you’re looking at straightening or replacing a track section, not just a roller swap.
How to check your rollers: with the door closed, walk the full width and gently try to rock each roller in its hinge. It should feel firm and turn freely. Any wobble, flat spot, or grinding feel is a replacement candidate. If the rollers are original to a door of unknown age, replacing all of them at once is cheaper than doing them one at a time.
While you’re checking rollers, look at the track itself. Run your hand along the inside edge (door closed, opener disengaged) and feel for dents or ripples. Tracks bend from impacts, and a bent track forces the door to work against it, which shortens the life of rollers, hinges, and the opener alike. Straightening a track is a technician job; a bent track is a symptom, not a cause.
The Centreville Seasonal Lubrication Schedule
Generic advice says “lubricate twice a year.” That’s a reasonable default, but it ignores how Centreville’s weather actually stresses the hardware. A better schedule is tied to the calendar: one pass in late spring as the humid season arrives, one pass in late fall before the first hard freeze. Here’s how to run it.
What to lubricate, and with what
- Springs: a light coat of garage door lubricant on the torsion spring coils reduces friction and slows rust pitting. Never use WD-40 alone for this; it’s a solvent, not a lubricant.
- Rollers: a drop on each steel roller bearing, and a light spray on nylon rollers. Don’t overdo it; excess lubricant attracts grit.
- Hinges: a drop at each hinge knuckle. This is the single biggest noise reducer on most doors.
- Track bend points: hinges, rollers, and the curved section where the track turns horizontal. Never grease the flat part of the track itself; a dry track is a clean track.
- Opener chain or belt: follow the brand manual. LiftMaster and Chamberlain chain drives usually want a light grease on the chain; a Genie belt drive does not.
Why the schedule matches Centreville’s seasons
Virginia’s summer humidity swells wooden door sections, tightens weather seals, and lets rust start inside hinges that never see a drop of rain. The fall pass matters because cold weather makes lubricants thicker and springs more brittle; a spring that’s already under stress is likelier to fail on a cold morning than in July. Two passes, timed to the seasons, keep the moving parts consistent through both extremes.
If you have a garage door opener repair issue that keeps returning after lubrication, the underlying problem is mechanical, not a maintenance gap, and it’s worth a proper diagnosis.
The Opener Force-Setting Test Most Homeowners Skip
Your opener has a force setting that determines how hard it pushes to close and pulls to open. If that setting is too high, the opener can crush a pet, a child’s hand, or a door panel. If it’s too low after a door gets heavier from worn springs, the opener will stall, reverse, or burn out the motor trying to push a door it can’t move. Most homeowners have never run the force test. It takes two minutes and it’s the difference between a properly calibrated opener and an expensive motor replacement.
How to run the force-setting test
- With the door closed, pull the manual release cord so the door is disconnected from the opener.
- Lift the door halfway by hand. A properly balanced door should stay there. If it slams down or flies up, the balance or springs are the problem, not the opener.
- With the door reconnected, close the door by hand to about a foot off the floor, then let it go. It should rest, not swing down with force.
- Look at the opener’s force adjustment dial or down-screw. Most LiftMaster and Chamberlain units use a down-limit and force screw under the light cover. A Genie unit may use a force dial near the motor head. If the force is set to maximum, that’s a red flag.
- Test the auto-reverse: place a roll of paper towels or a 2×4 flat on the floor where the door will land. When the door contacts it and reverses, the reverse is working. If the door presses down on it, lower the force setting and test again.
Run this test once a season. If the opener has to be turned up to maximum to close the door, the door itself is the problem; a heavier door means the springs are losing tension or the rollers are dragging. Forcing the opener past that is a shortcut that ends in a burned-out motor or a cracked panel.
The Balance Test and Manual Release Check
The balance test is the simplest check on the whole list and the one that catches the biggest problems. A door that’s balanced will stay put anywhere you leave it. A door that’s out of balance forces the opener to compensate, and no opener is designed for that.
The balance test, step by step
- Close the door and pull the manual release cord to disconnect the opener.
- Lift the door to waist height and let go. It should hold. If it drops, the springs are weak. If it rises, the springs are over-tensioned.
- Lift the door to shoulder height and repeat. Same result: it should hold.
- Raise the door fully, lower it partway, and let go. It should stay.
- Reconnect the opener. If the door fails any of these steps, stop using it and have it serviced. The springs or cables need attention, and forcing the opener to compensate will burn it out.
Manual release check: the release cord should pull easily from inside the garage. If it’s stiff, the opener is binding, and that’s often the first sign of a failing opener gear or trolley. If the release jams, the door cannot be operated manually, which is a problem in a power outage. That’s a call-a-technician item, not a “keep pulling harder” item.
Weather Seals and What Virginia Humidity Does to Them
Weather seals are the rubber strip along the bottom of the door and around the perimeter. They keep rain, insects, and cold air out, and in Centreville’s humid summers, they also keep the humidity from swelling wooden door sections. Seals fail quietly. A seal that looks fine from a distance can be cracked underneath, and water wicks in behind it.
What to check on the seals
- Bottom seal: press it with your thumb. It should be soft and springy. A hard, cracked, or missing seal lets water in and lets heat out.
- Perimeter seals: look for gaps between the door and the frame, especially at the top corners. Feel for daylight.
- Side and top tracks: check for warped track seals, which is common after a summer of swelling.
- Rot at the bottom of the door: on wooden doors, probe the bottom panel with a screwdriver. Soft wood is rot, and no seal replacement will fix it.
Replacing a bottom seal is one of the few maintenance jobs a homeowner can do on their own, as long as the door is closed and the opener disconnected. Perimeter seals and rot repair are better left to a technician. Humidity is the recurring theme here, so if the seals are worn out, expect the door itself to swell and the rollers to bind more in July and August than in January.
Matching the Checklist to Your Door and Opener Brand
Every checklist item above applies to every door. But the specifics, the part numbers, the correct spring wire size, the opener’s force dial location, all depend on the brand. That’s the difference between a general handyman guessing and a technician who’s seen your exact system before. We service eight major brands: LiftMaster, Chamberlain, Genie, Clopay, Amarr, Wayne Dalton, Craftsman, and Raynor. Matching your door and opener to the brand is the first step.
Door brands (Clopay, Amarr, Wayne Dalton, Raynor)
Clopay and Amarr doors use standard torsion setups, but their spring sizing depends on the exact model, so a homeowner can’t just match a spring by colour. Wayne Dalton and Raynor doors, on the other hand, sometimes use proprietary spring and hardware configurations that a generalist won’t recognise. If you’re servicing a Wayne Dalton or Raynor door, don’t assume the parts match a generic door.
Opener brands (LiftMaster, Chamberlain, Genie, Craftsman)
LiftMaster and Chamberlain share a lot of internal design, and their force adjustment is often a screw under the light cover. Genie uses a different force dial setup. Craftsman openers tend to use a chain drive with a specific travel-limit adjustment. Knowing which brand you have tells you where to look, and more importantly, it tells you which failure mode is likely. A Craftsman chain drive and a Genie belt drive fail in different ways. That’s the value of Garage Door Repair Centreville as a full-service specialist: the same team diagnoses the door, the springs, and the opener together.
Common Mistakes to Avoid
- Lubricating with WD-40. WD-40 is a solvent, not a lubricant. It dries out hinges and attracts dust. Use a garage-door-specific lubricant instead, and save the WD-40 for loosening a rusted bolt.
- Trying to wind or unwind a torsion spring. This is the single most dangerous mistake a homeowner can make. The stored energy can release and cause serious injury. Call a technician for any spring adjustment.
- Ignoring a small gap in the spring coils. A gap is the earliest sign a spring is losing tension. Waiting for it to snap means the door is heavier than it should be, and the opener is bearing the extra load.
- Turning up the opener force to fix a hard-to-close door. The door is hard to close because the springs, rollers, or track are worn, not because the opener is weak. Turning up force hides the problem and burns out the motor.
- Greasing the flat part of the track. A greased track attracts grit and makes the rollers slide, not roll. Keep the track clean and dry.
- Skipping the fall lubrication pass. Centreville’s cold snaps make springs more brittle. A door that ran fine all summer can fail on the first freezing morning without a fall tune-up.
- Assuming a Wayne Dalton or Raynor door uses off-the-shelf parts. Some models use proprietary spring and hardware configurations. Ordering a generic replacement and forcing it in can be unsafe and will wear faster.
See the difference
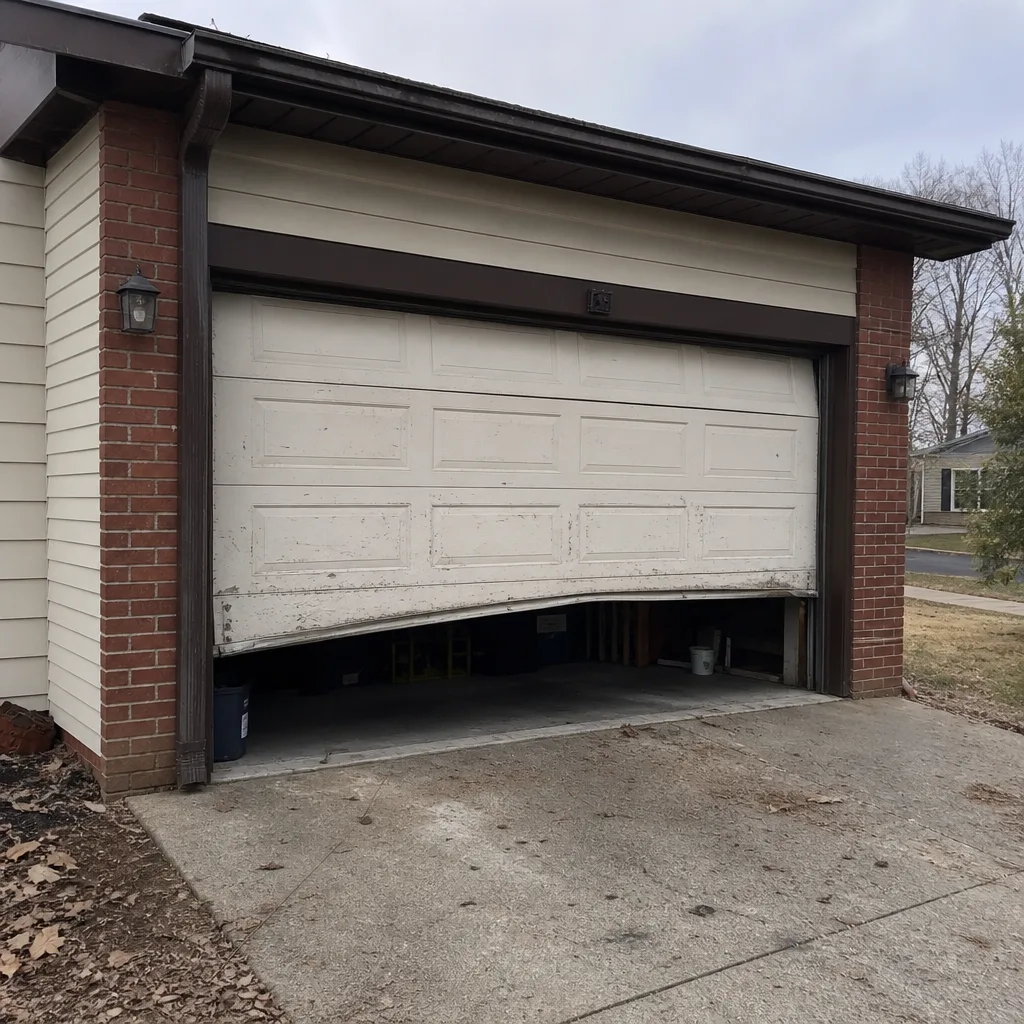 Before
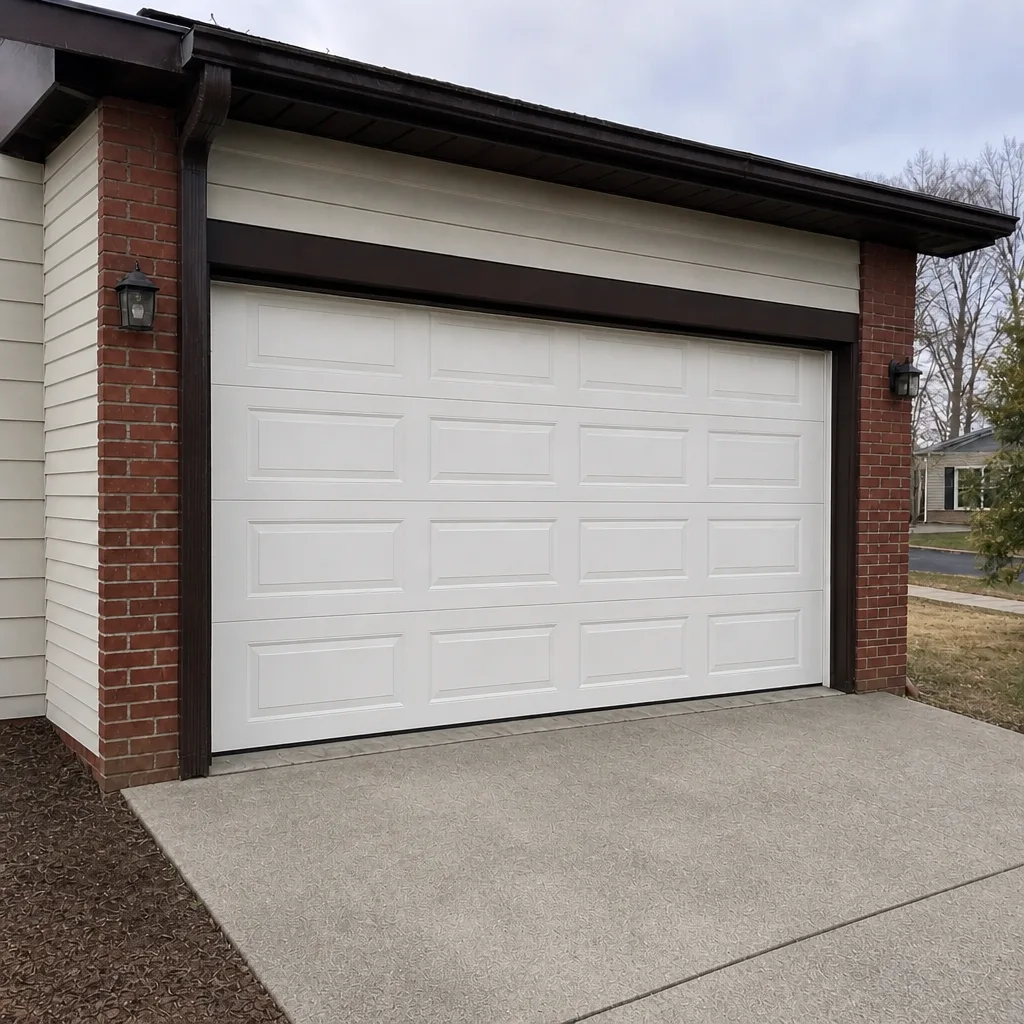 After
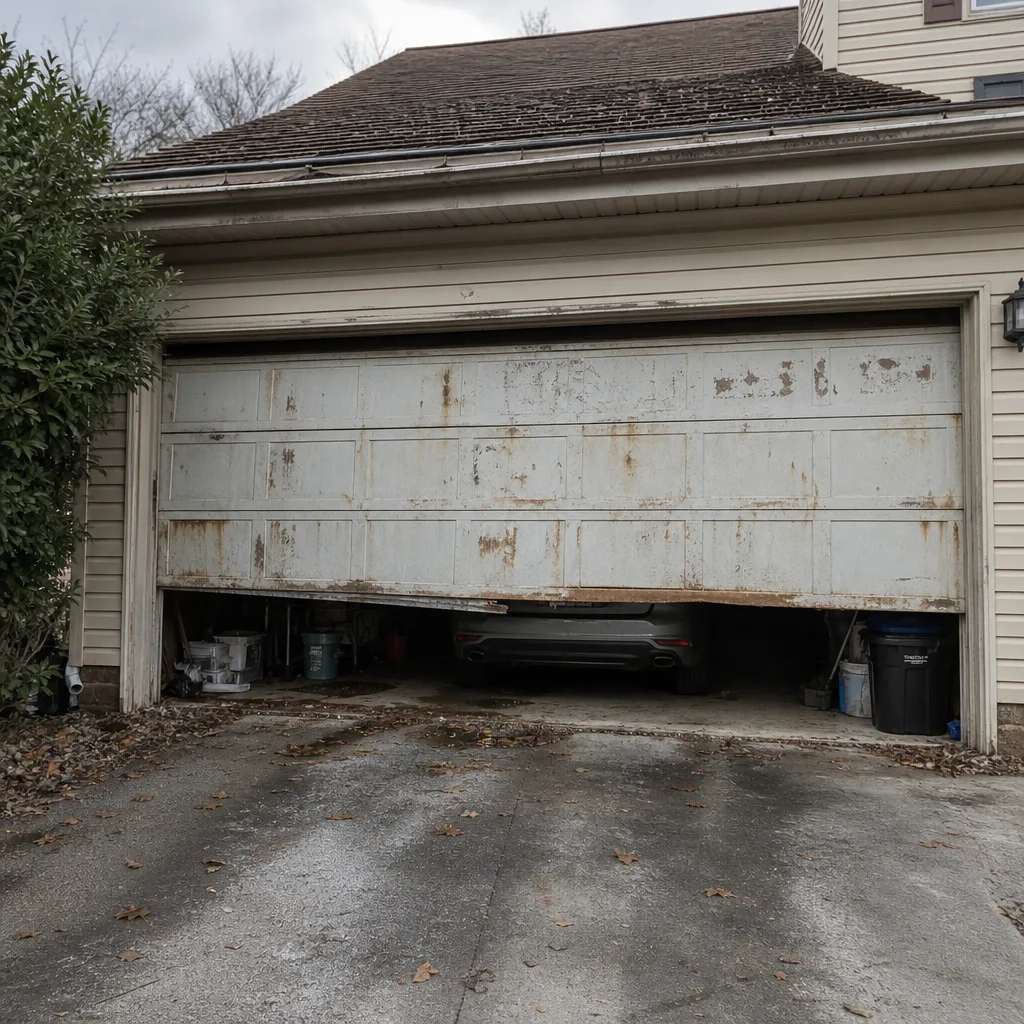 Before
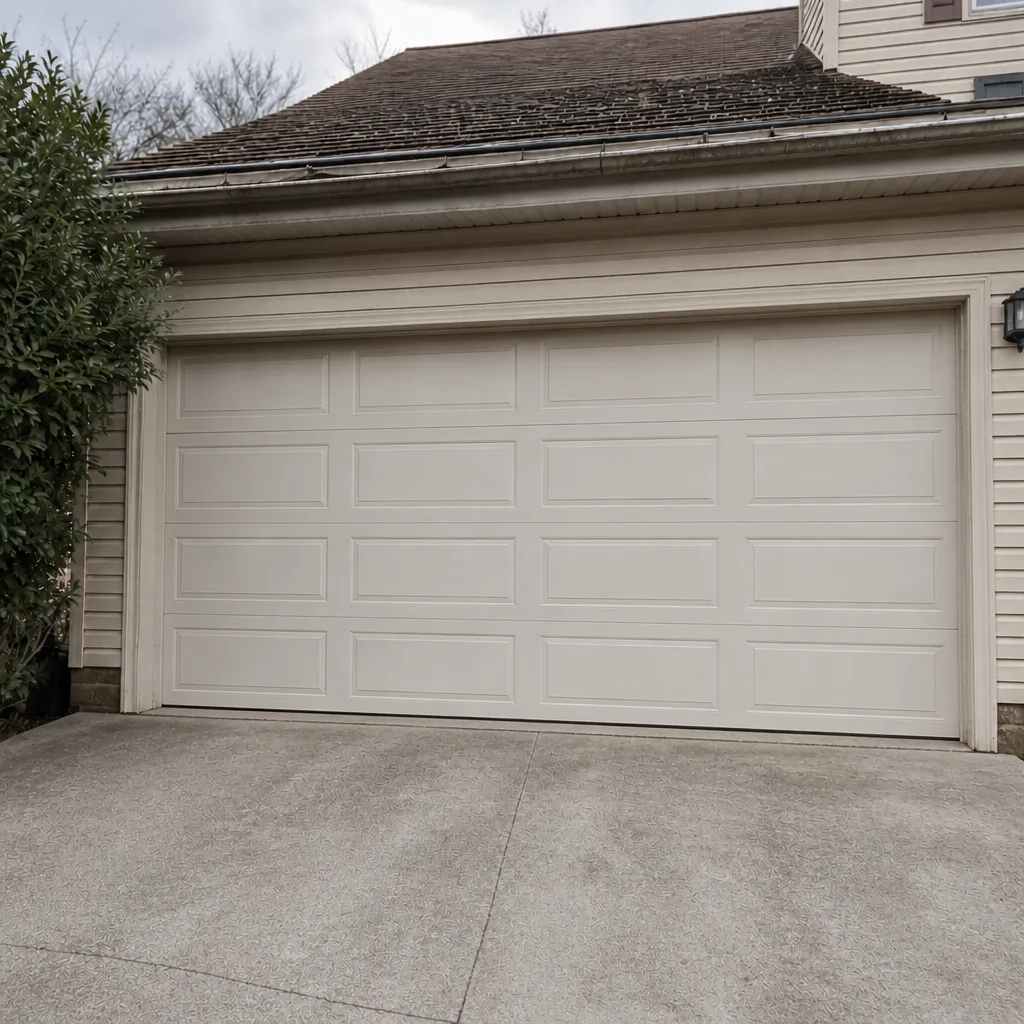 After
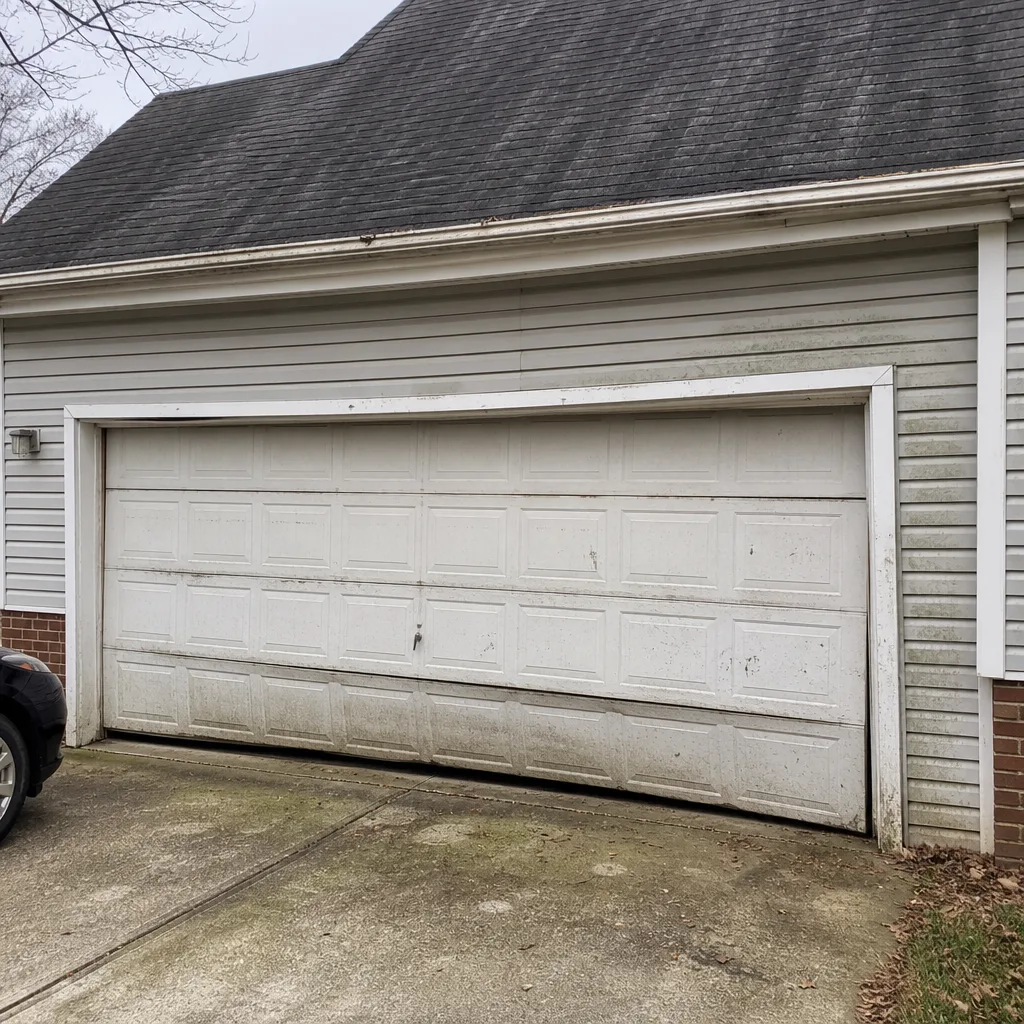 Before
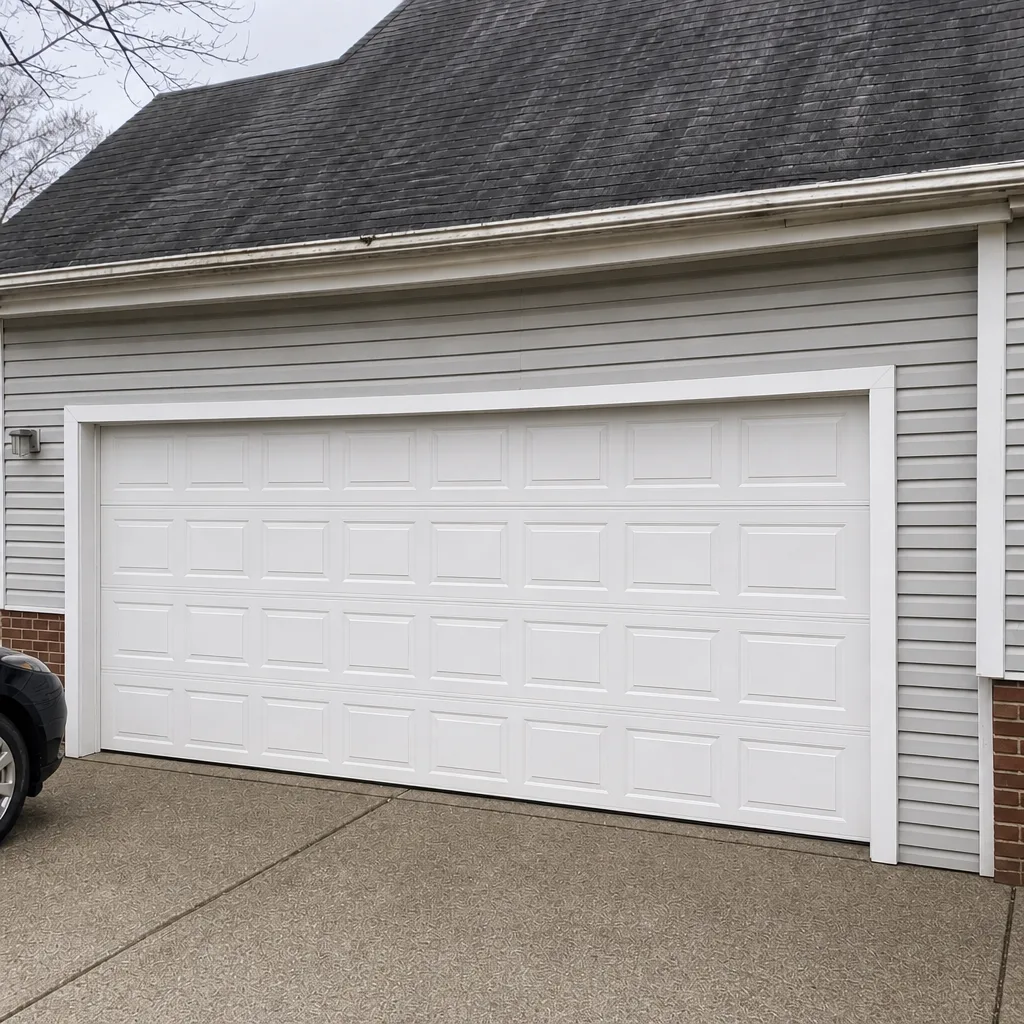 After
When to Call a Professional
Call a professional for any spring that shows a gap, kink, or deep rust pitting. Call for any cable that has separated into strands or snapped. Call when the door won’t stay up on the balance test, lifts crookedly, or drifts to one side. Call when the opener has to be turned up to maximum force to close the door, or when the manual release cord is stiff. Call for bent or wavy tracks, failed trolley gears, and any panel that’s cracked or separating. And call when a door has stopped working entirely, since a dead door means a trapped car and an unsecured home. Garage Door Repair Centreville offers free estimates in Centreville. Call (855) 497-3217, and our technicians have up to 14 years of experience. We work on your brand, diagnose the real problem, and give you a written price before any work starts.
Frequently Asked Questions
Twice a year, in late spring and late fall. That timing matches Centreville’s humid summers and cold winters, when humidity swells wooden doors and cold weather makes springs brittle. The visual checks (springs, cables, rollers) take ten minutes; the lubrication pass and force setting test add another fifteen. If you notice noise, vibration, or a door that no longer stays up on the balance test, run the relevant section that week rather than waiting for the scheduled pass.
Most spring repair calls fall in a typical range of about $200 to $400 for a single torsion spring, with extension springs usually a bit less. Prices are estimates, and the written quote sets the final cost. A trained technician confirms the cause and quotes the job before any work begins. Call (855) 497-3217 for an exact quote. Estimates are free.
We offer emergency garage door service and fast dispatch from 7am to 7pm. A stuck door is worth calling in, since a dead door means a blocked car and an unsecured house. Call (855) 497-3217 and we’ll confirm an arrival window and a price before we start. For same-day availability, call early in the day.
No. We quote the job after diagnosing it and agree the price with you before any work starts, so the written estimate is what you pay. Where a repair turns up something the inspection couldn’t see (a cracked panel behind a seal, for example), we stop and explain the options before we continue. You won’t get an invoice bigger than the quote unless you’ve agreed to the extra work first.
The local professionals we connect you with are licensed and insured as their state requires. Our technicians have up to 14 years of experience and work on eight major brands: LiftMaster, Chamberlain, Genie, Clopay, Amarr, Wayne Dalton, Craftsman, and Raynor. If you want to confirm licensing on a specific job, just ask, and we’ll tell you what to expect before the technician arrives at your Centreville home.
The most common causes are a misaligned safety sensor, a force setting that’s too low, or an obstruction in the door’s path. First check the photo-eye sensors at the bottom of the tracks for dirt, a knocked-out of alignment condition, or a blocked line of sight. If the sensors are clean and aligned and the door still reverses, the force setting is likely too low. If it reverses on opening, the springs are probably losing tension. If it’s mechanical, and the opener needs a proper diagnosis, we handle garage door opener repair, and you can call (855) 497-3217. Estimates are free.
The Bottom Line
Most garage door problems announce themselves before they fail, but only if you know what to look for. Springs leave gaps and pits, cables fray in stages, rollers flat-spot before tracks bend, and the opener force setting hides all of it until the motor burns out. Run the visual checks in late spring and late fall, keep the schedule tied to Centreville’s seasons, never touch a spring under tension, and call a technician when the balance test fails or the force setting has to be maxed out. A ten-minute inspection twice a year is a small price for a door that operates reliably. When you want a trained eye to run it, call (855) 497-3217 for a free estimate.
Written by the team at Garage Door Repair Centreville.