Last updated November 22, 2026
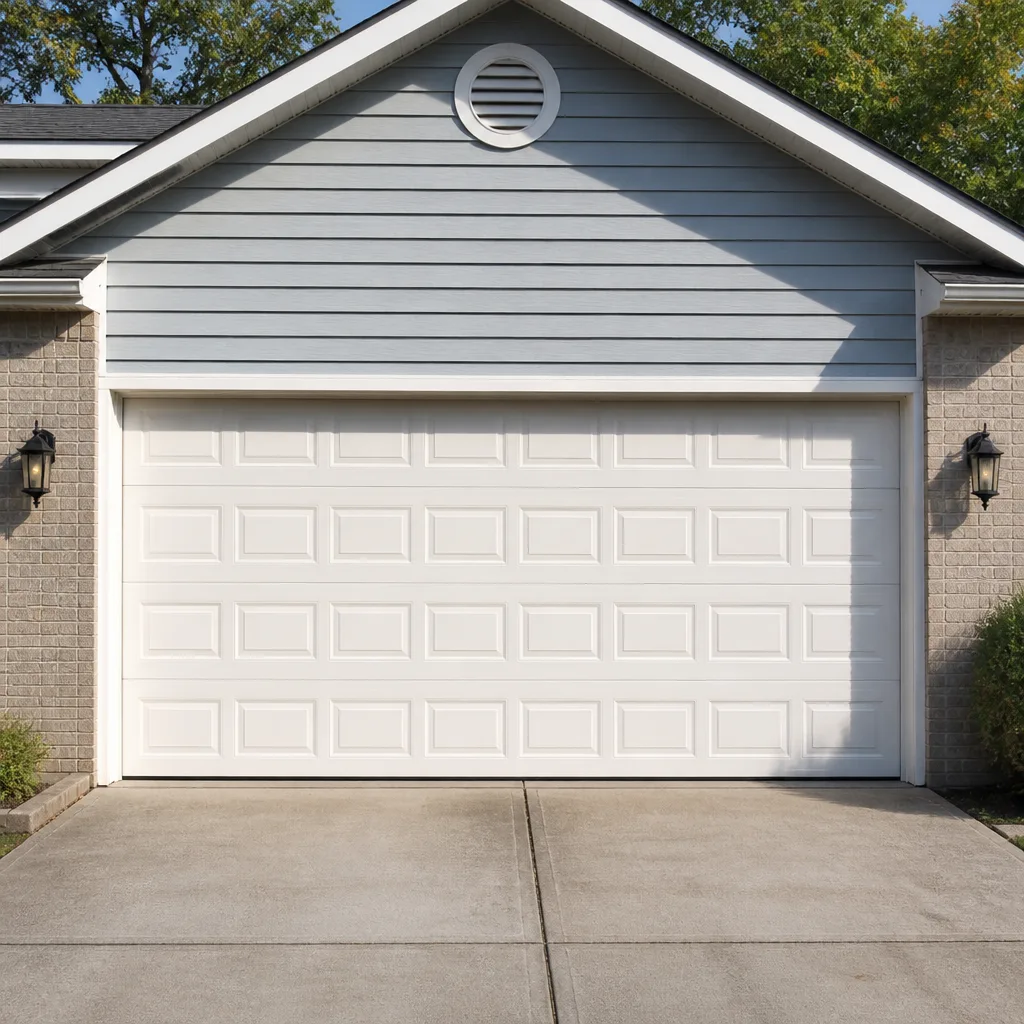 Raised-panel steel
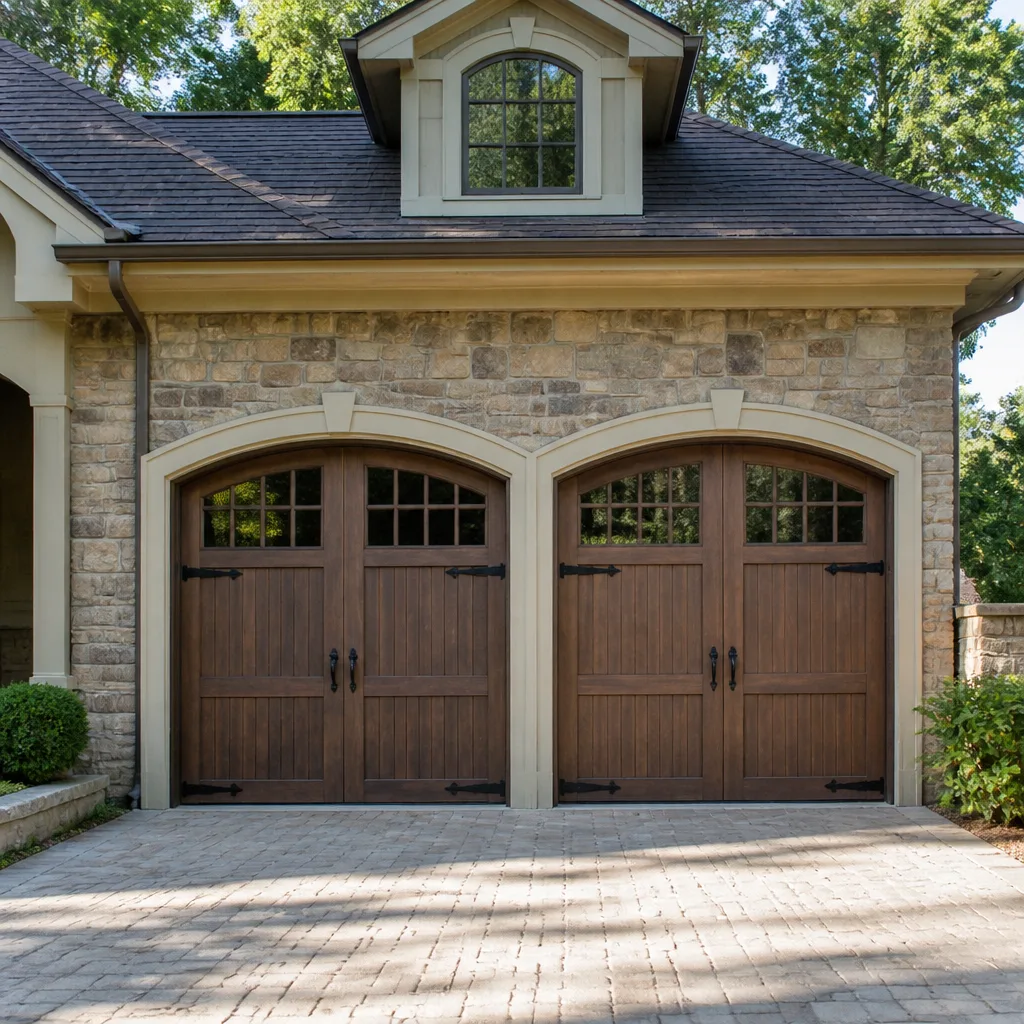 Carriage house
 Modern flush
 Full-view glass
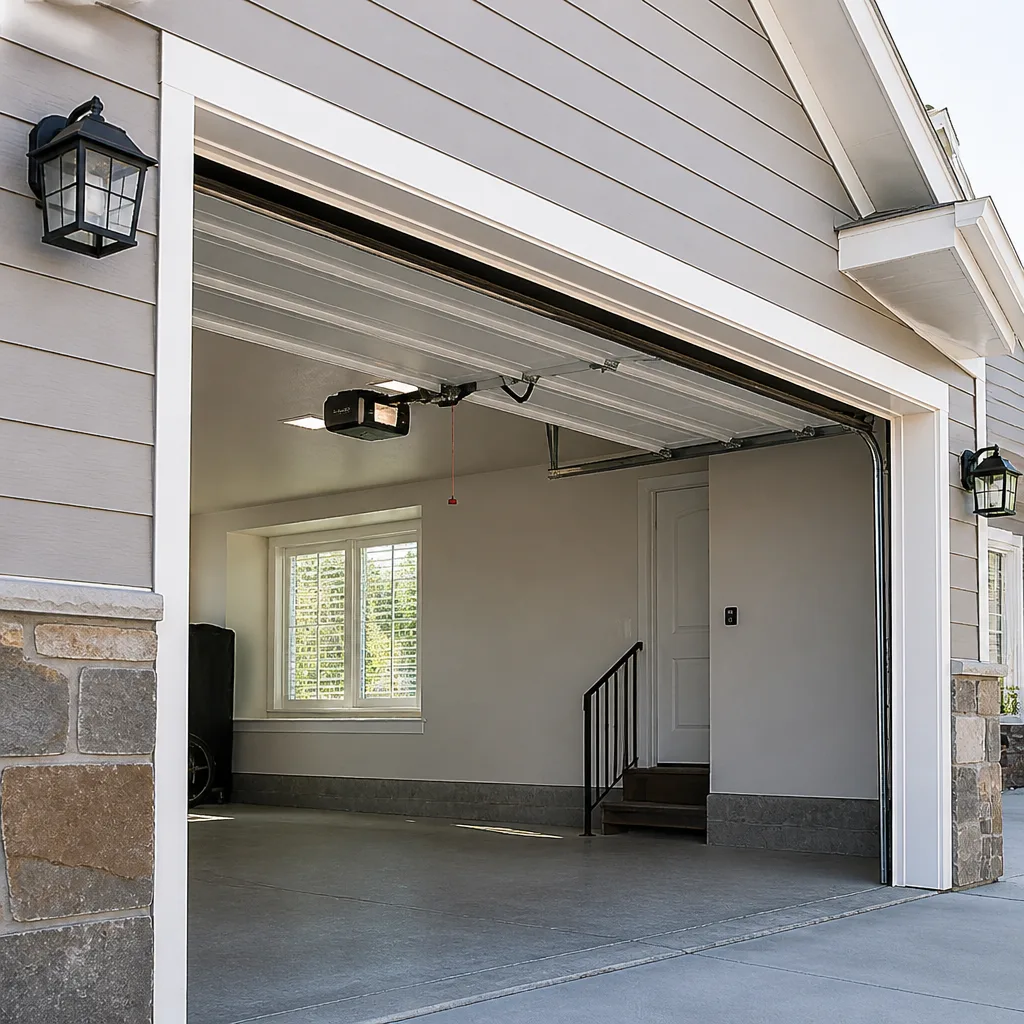 LiftMaster openers
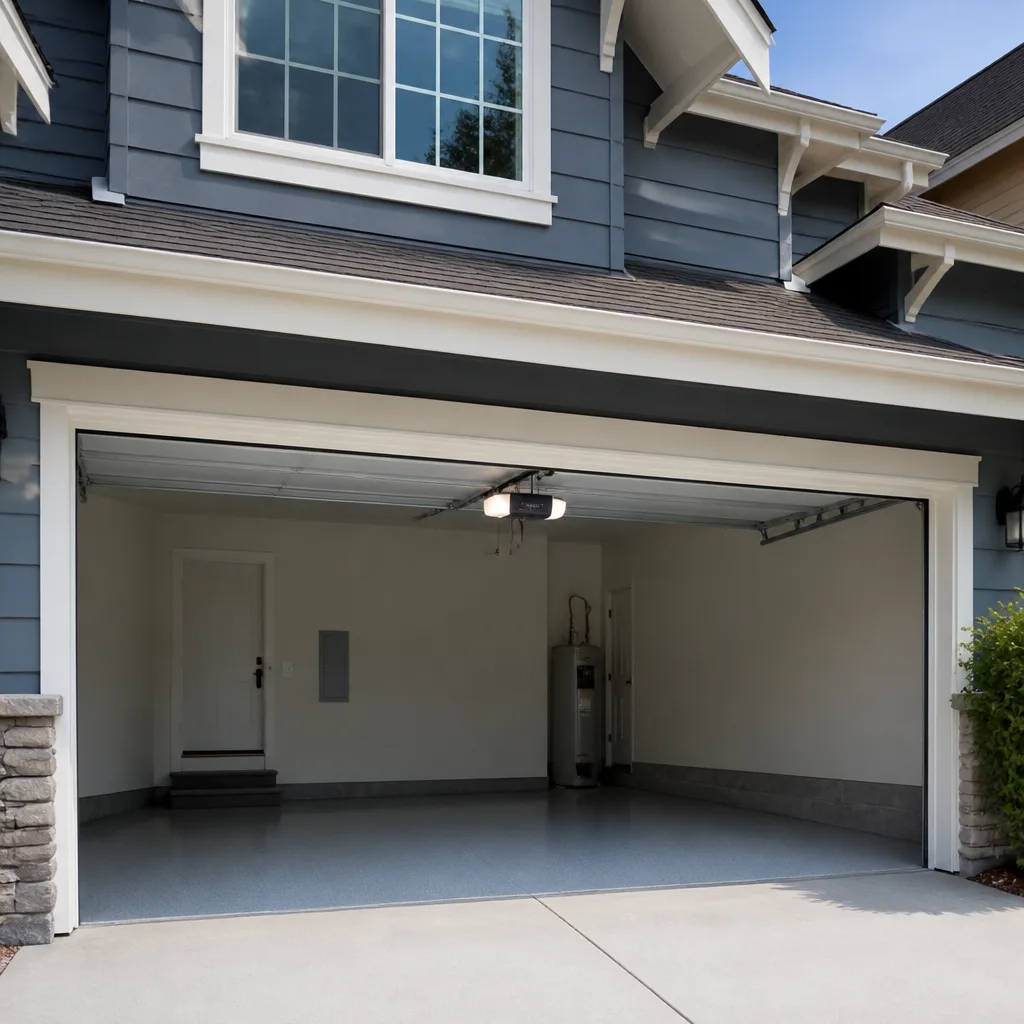 Chamberlain openers
Full 25-point door and opener safety check with every visit - springs, cables, rollers, tracks, and your LiftMaster or Chamberlain opener included
You get a price before we start. It does not change when the pro arrives.
Get your free estimateDIY vs Professional Garage Door: The Centreville Homeowner’s Decision Guide
Torsion springs store enough mechanical energy to injure someone in a fraction of a second. Lubricating your rollers does not. That gap between a ten-minute maintenance task and a job that can shatter a wrist is exactly what most DIY-versus-pro conversations miss, because the question isn’t whether you’re handy. It’s which specific jobs carry that kind of downside and which carry a do-over at worst. In this guide we draw the line task by task, using what we’ve learned working on Centreville doors, and give you the mechanical reasoning behind each category so you can decide honestly what’s worth your Saturday and what belongs to a trained technician.
Quick Answer
Most garage door maintenance is safe to do yourself. Springs, cables, and the high-tension parts of an opener install are not, because a mistake there can injure you rather than just cost you money. Light upkeep like lubrication, visual inspection, and keeping the safety sensors clean is homeowner work; anything that stores or releases significant force is professional work. For anything the door’s weight passes through, call (855) 497-3217 for a free estimate before you pick up a tool.
Styles & brands we work with
- Raised-panel steel
- Carriage house
- Modern flush
- Full-view glass
- LiftMaster openers
- Chamberlain openers
Table of Contents
- The three categories of garage door work
- Why torsion springs are in a class of their own
- Safe DIY: what you can genuinely do yourself
- Requires care: jobs that punish impatience
- What DIY opener installation actually involves
- The cost-benefit reality check
- How to be a useful collaborator on a pro job
- When to call a professional
The three categories of garage door work
Every garage door task falls into one of three buckets, and the bucket is decided by physics rather than by how confident you feel. The useful question is simple: if this goes wrong, what is the worst outcome? If the answer is a part that needs replacing, it’s a do-over. If the answer is a person who needs a hospital, it’s a professional job regardless of your skills.
- Safe DIY: Lubricating rollers, hinges, and tracks. Clearing debris from the photo-eye sensors. Visual inspection of panels, weatherstripping, and hardware. Tightening a loose bolt you can reach safely with the door closed. These carry no stored-force risk.
- Requires care: Balancing the door’s travel, adjusting limit settings on an opener, replacing a bottom seal, re-engaging a carriage after a manual release. These are within reach for a patient homeowner, but a wrong move can damage an opener mechanism or leave the door misaligned, which then stresses everything else.
- Never DIY: Torsion springs, extension springs, cables, drums, and any work on the opener’s high-tension drive path. These components hold force that can release instantly and without warning.
That middle category is where a lot of Centreville homeowners get stuck, and it’s the one worth reading twice. Re-engaging a carriage or adjusting limits is fine when the door is in a normal, balanced state. It stops being fine the moment something feels heavier than it should, which usually points back to the spring.
Why torsion springs are in a class of their own
A torsion spring is a tightly coiled steel bar under load. On a typical residential door it holds enough energy to counterbalance the door’s weight, which is why the door feels light when you lift it by hand. When that coil breaks or is released without the proper winding bars and procedure, the stored force goes somewhere immediately. There’s no slow leak of pressure, no warning creak that gives you a second to move your hands, and no way to “catch” it.
That’s what makes springs categorically different from, say, a stuck window or a loose cabinet hinge. Most home repair mistakes are annoying. A spring mistake is a physical event. In our experience the tooling is also the giveaway: winding a torsion spring takes specific winding bars and a working knowledge of how many turns a given door needs, and getting that count wrong means the door either drops in the up position or refuses to lift without a fight.
Cables add a second layer. Cables are under tension every time the door is under tension, and a cable that lets go while your hands are near the track can whip. That’s why we treat garage door spring repair as a dedicated discipline rather than a side task. For the specific pricing and process, that page covers what a spring replacement involves and how a matched pair is usually handled together.
None of this is meant to scare you off maintenance. It’s meant to draw the line precisely. Springs and cables live on the pro side of it.
Safe DIY: what you can genuinely do yourself
Here’s the good news. A meaningful share of keeping a garage door healthy is homeowner work, and doing it well extends the life of the whole assembly. These jobs carry no stored-force risk and no meaningful chance of injury if you work carefully with the door closed or fully open.
- Lubricate the moving parts. A light application on rollers, hinges, and the pivot points quiets a door and reduces wear. A garage door lubricant that doesn’t attract grit is the right choice; skip the heavy grease.
- Inspect the rollers and hinges. Nylon rollers should spin freely. A cracked hinge or a roller with a flat spot is worth noting so you can bring it up with a technician.
- Check the weatherstripping and bottom seal. A worn bottom seal lets in drafts, water, and the occasional determined insect. Replacing the seal on a standard door is a reasonable afternoon task.
- Clean the safety sensors. The photo-eye sensors near the floor should be wiped clean and free of spiderwebs or leaf debris. A dirty sensor is a common cause of a door that closes partway and reverses.
- Tighten what’s loose. Brackets and bolts that work loose over time can be snugged up. Don’t overtighten; it stresses the metal.
- Listen and watch. A door that shudders, squeals, or slows at a certain point is telling you something. That observation saves a technician diagnostic time and saves you a bigger repair.
Notice what isn’t on that list: adjusting the spring tension, replacing a roller with your hands anywhere near a live cable, or reaching into the opener’s drive assembly. Keep the maintenance list clean and you’ll keep the door running well without touching the dangerous parts.
Requires care: jobs that punish impatience
This middle category deserves its own section because it’s where honest homeowners often get overconfident. These tasks don’t carry the same injury risk as a spring, but they reward slow, methodical work and punish rushing.
- Balancing the door’s travel. A balanced door should hold its position a few inches off the floor when you release it manually. If it slams down or drifts up, the spring system is off and that’s a call, not a tweak.
- Adjusting opener limit settings. Every opener has up and down limit screws or digital settings that tell it when to stop. Wrong limits mean the door stops short or pushes into the floor and reverses. On a LiftMaster or a Craftsman unit the logic is similar but the controls differ, so follow your specific model’s manual.
- Replacing the bottom seal. Straightforward on most doors, but you’ll want the door fully open and the tracks clean so the new seal feeds evenly.
- Re-engaging the carriage after a manual release. Fine as a one-time move when the door is balanced. If you’re re-engaging it repeatedly, the opener is telling you the force needed is out of range.
- Clearing a door that’s stuck partway. Never force it. A door jammed at an angle is often a cable or spring issue, and pushing harder can make it worse in a hurry.
We work on doors from Wayne Dalton, Clopay, Amarr, and Raynor, and the pattern holds across all of them: the patients who watch and listen before reaching for a tool rarely make things worse. The ones who force the door usually call us with a bigger problem than they started with.
What DIY opener installation actually involves
A YouTube tutorial makes opener replacement look like bolting a box to the ceiling and plugging in a couple of wires. The reality is three things the videos skip, and each one is worth understanding before you decide.
- The header bracket and how it carries load. The opener rail is supported at the center of the door opening by a header bracket attached to the wall or the ceiling structure above it. That bracket carries the pull of the whole opener during operation, so it has to be anchored into something solid, not just drywall. Getting the alignment off by an inch throws the whole rail out of position and stresses the motor.
- Force calibration. A new opener has to be set so it applies enough force to lift the door and not so much that it ignores resistance. This is a safety function, not a comfort one. Get it wrong and the door can push harder than it should on anything in its path. On a Chamberlain or Genie unit the calibration sequence is specific, and it assumes the door itself is balanced first.
- Safety sensor alignment. The photo-eye sensors have to be level, aligned, and wired so the opener sees an unobstructed beam at all times. A sensor that’s tilted a few degrees works fine for a week and then starts reversing the door on a cloudy afternoon.
None of those three steps are impossible. They are, however, the steps that fail quietly and turn into a callback. If you take on the install, do it with the door already balanced and the manual in hand. If the door’s balance is questionable, that’s a garage door opener repair conversation before anyone installs anything new.
The cost-benefit reality check
DIY saves real money on some jobs and saves nothing on others once you count tools and redo risk. Here’s the honest breakdown of where each lands.
- Lubrication and cleaning: DIY wins clearly. A can of door lubricant costs little and takes minutes.
- Bottom seal replacement: DIY wins on most standard doors. The seal is inexpensive and the job is forgiving.
- Opener replacement: This is where it gets murky. The opener itself is a real cost, and if you need a ladder, a helper, and repeats of the calibrate-test-adjust cycle, you can burn a full day. If the header bracket placement or force calibration is off, you may be paying someone to redo it anyway. Pro installation is often the better value for a first-timer.
- Spring repair: There is no DIY savings here because the job isn’t one you should attempt. The tool cost (winding bars), the injury risk, and the chance of getting the turn count wrong eliminate the savings entirely.
- Panel replacement: A single panel swap can be a reasonable DIY job if it’s the bottom or top panel and the door is stable. More complex panel work on a sectional door usually isn’t worth it.
For the full picture of what pro work costs and what it includes, our garage door repair page lays out the common jobs and how estimates are handled. Every price we give is quoted and agreed before any work starts, so you know the number before a technician touches the door.
How to be a useful collaborator on a pro job
You don’t have to hand over the whole job to save money. There’s real work a homeowner can do to reduce billable time on a pro visit without going anywhere near the dangerous parts. We appreciate it, and it keeps the estimate honest.
- Clear the floor and the path. Move the car, the bikes, the trash cans. A technician who can walk straight to the door works faster than one who has to shuffle equipment around.
- Clear the opener area. If the opener is the focus, clear space under it and make sure there’s a safe place to stand a ladder. Boxes stacked around the opener add time.
- Write down the symptoms. “It reverses at about three feet, only when it’s cold” is worth more than “it’s broken.” Specific observations shorten diagnosis.
- Note the brand and model if you can. Knowing it’s a LiftMaster or a Craftsman saves a step. If you don’t know, don’t worry; the technician will identify it.
- Test the door by hand if it’s safe. With the door manually released and balanced, you can note whether it feels heavier on one side. Don’t force a stuck door.
- Have your questions ready. If you’re wondering whether a repair or replacement makes sense, ask during the estimate, not after.
What not to do: don’t loosen anything on the springs or cables before the tech arrives, and don’t try to “help” mid-job by adjusting hardware. Leave the dangerous components alone. The prep work around them is where you add value.
Common Mistakes to Avoid
- Assuming a bent door is a bent door. A door that’s off its track is often a symptom of a spring that’s lost tension. Treating the visual symptom without checking the cause means a repeat repair.
- Using WD-40 as a door lubricant. It’s a penetrant and a light cleaner, not a lasting door lubricant. It can actually wash away the factory grease and attract dust.
- Forcing a stuck door. If the door won’t move, the problem is almost certainly in a component storing force. Pushing harder can bend a panel or swing an out-of-tension door in an unsafe direction.
- Buying a new opener when the door is the problem. An opener that strains or reverses may be fighting an unbalanced door. Replacing the opener without correcting the balance just burns out the new motor.
- Ignoring the safety sensors. A door that reverses on its own is usually a dirty or misaligned sensor, and it’s a five-minute fix rather than a service call.
- Hiring a generalist for a brand-specific problem. A door from Raynor or Amarr, or an opener from Chamberlain, has model-specific quirks. A general handyman guesses; a technician who works on those brands regularly diagnoses.
- Patching a broken spring with a mismatched replacement. Springs are matched to the door’s weight. A spring of the wrong size can leave the door hard to lift or unsafe to operate.
See the difference
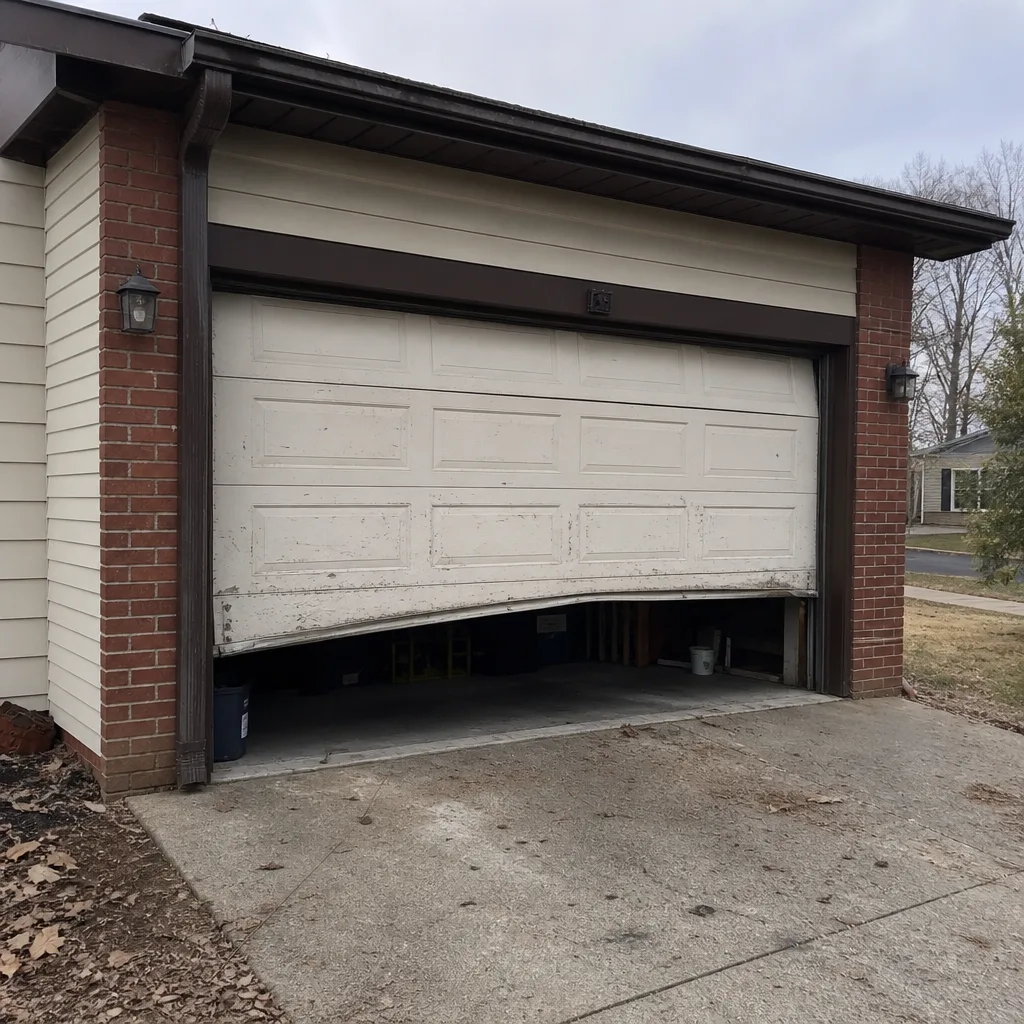 Before
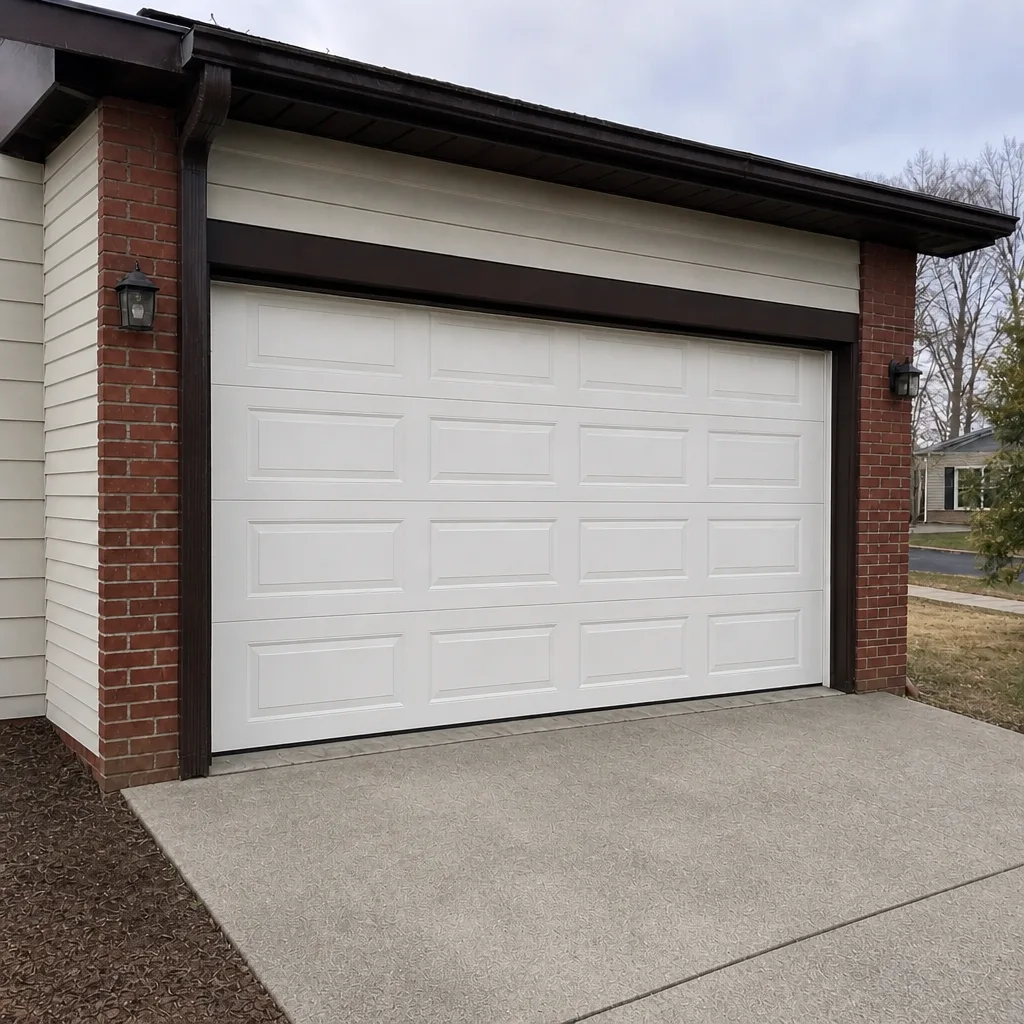 After
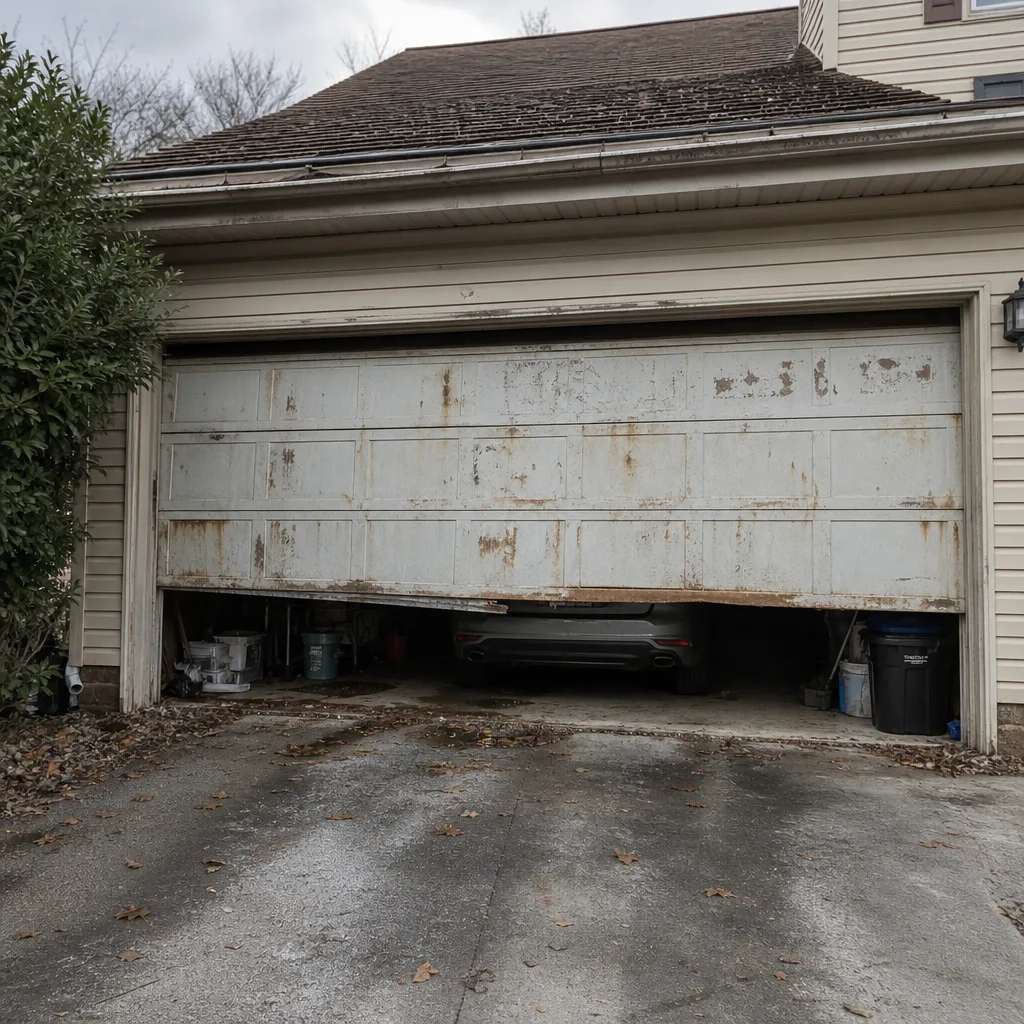 Before
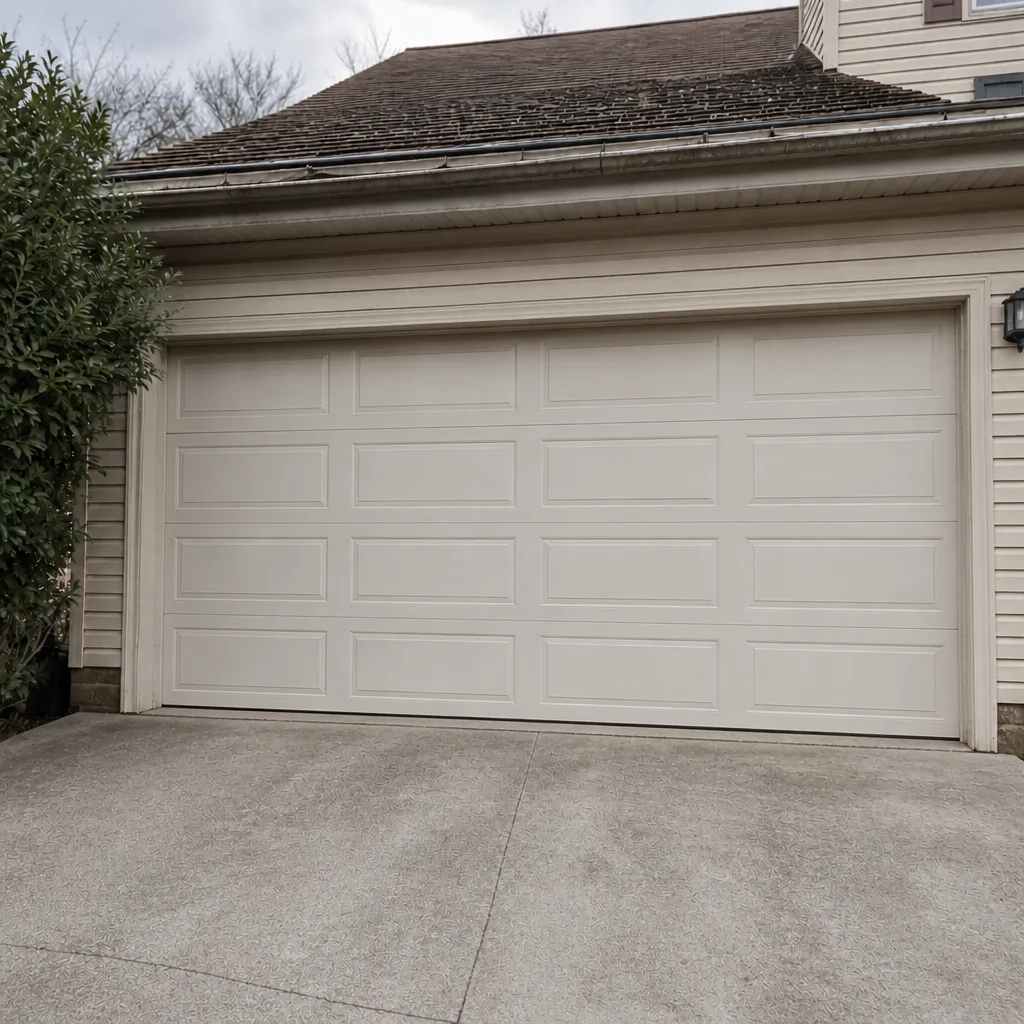 After
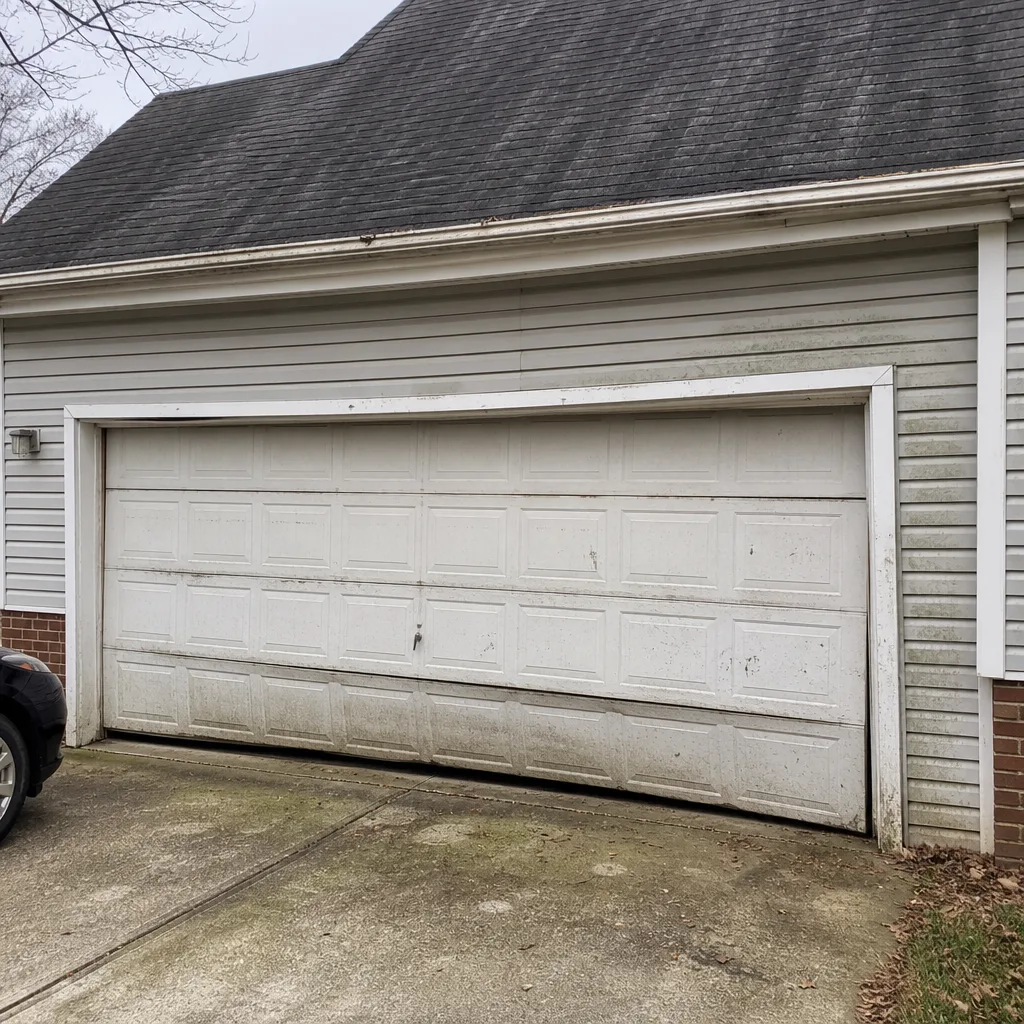 Before
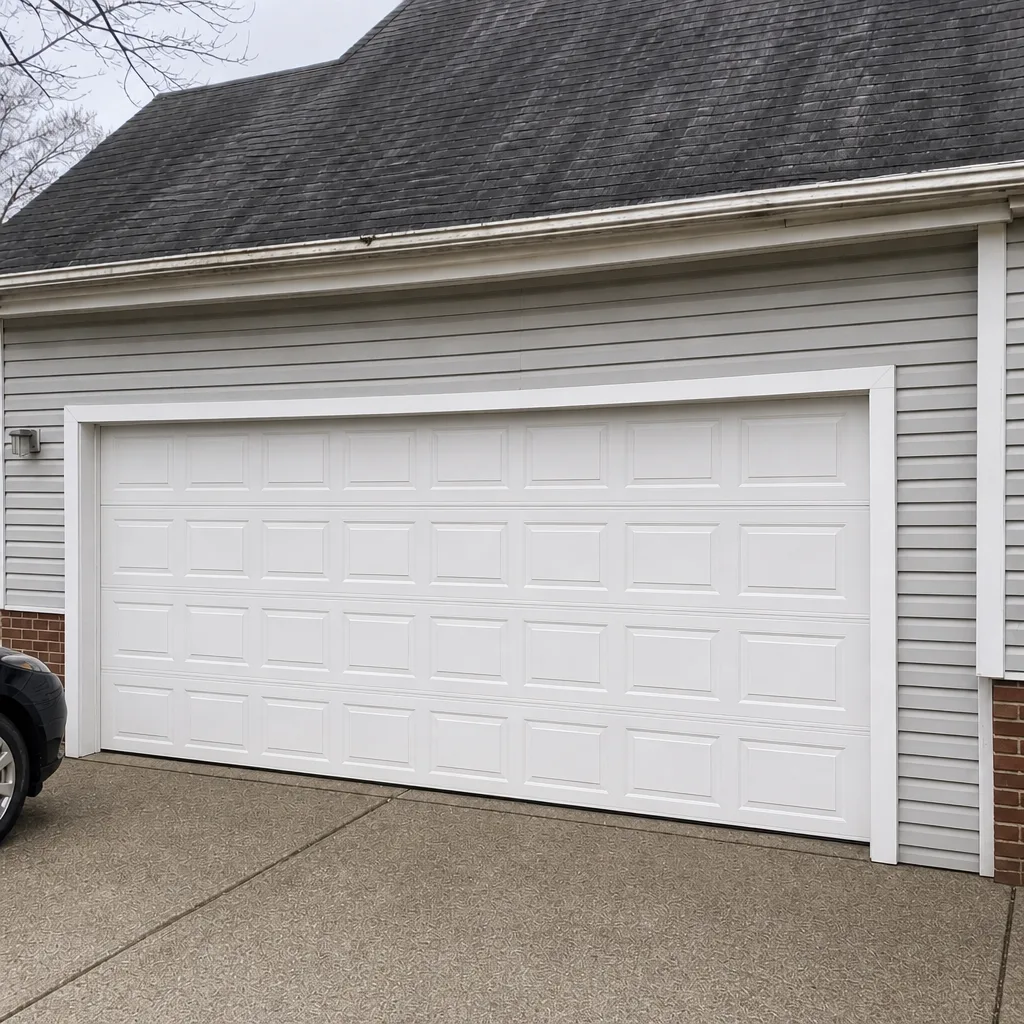 After
When to Call a Professional
Call a professional the moment the job involves stored force, the door’s balance, or the opener’s drive path. That means a snapped spring, a door hanging crooked, a cable that’s come loose, a door that reverses at the same spot every time, or an opener that struggles to lift the door on its own. If you’re not sure which category your issue falls into, that’s a good reason to call too. It’s one thing to replace a bottom seal on a Saturday afternoon; it’s another to discover the noise you’re trying to fix is a failing spring.
We handle garage door repair in Centreville and the surrounding area, from a quiet door that needs an adjustment to an emergency door that’s stuck open. For anything urgent, our emergency service is available and same-day service is a real option. Garage Door Repair Centreville offers free estimates in Centreville, and emergency service is a core part of what we do. Call (855) 497-3217 to talk through what’s going on.
Frequently Asked Questions
No, it isn’t worth attempting. A torsion spring stores the force that counterbalances the door, and releasing it without the proper procedure can injure you in a fraction of a second. The winding bars and turn count required are specific to your door’s weight, and a wrong guess either leaves the door unsafe or drops it. Call (855) 497-3217 for spring service; estimates are free.
Sometimes, if you’re patient and comfortable with ladders and light wiring. The three steps the tutorials skip are header bracket load, force calibration, and sensor alignment, and each one is a common failure point. If the door itself is out of balance, the opener shouldn’t be installed until that’s fixed. Call (855) 497-3217 for a quote if you’d rather not risk a redo; the estimate is free.
Lubrication, sensor cleaning, visual inspection, tightening loose bolts you can reach safely, and bottom seal replacement are all reasonable homeowner jobs here. Anything involving springs, cables, or the opener’s force path is professional work. Call (855) 497-3217 if you’re not sure which category your issue fits; we’ll tell you straight.
No. We quote and agree on the price before any work starts, so the written estimate is the number. If a technician finds something additional during the job, that gets raised with you before anything further is done. Call (855) 497-3217 for a free estimate.
Yes, same-day emergency service is available. A door stuck open leaves the house unsecured, so it’s the kind of call we prioritize. Call (855) 497-3217 and we’ll confirm timing and get someone out.
The local pros we connect you with are licensed and insured as their state requires. Our technicians have up to 14 years of experience and work across the major door and opener brands, including LiftMaster, Craftsman, Wayne Dalton, and Raynor. Call (855) 497-3217 for a free estimate.
The Bottom Line
The DIY-or-pro question for garage doors comes down to one line, and it’s drawn by physics. Lubrication, sensor cleaning, visual inspection, and seal replacement are yours to do and worth doing. Springs, cables, and the high-tension path of an opener are not, because a mistake there moves from a redo to an injury. Watch, listen, and maintain the safe parts. When the job reaches the line, put the tools down and make the call. We’d rather diagnose a problem once than repair the aftermath of a good-intentioned attempt.
If your door’s issue lands on the professional side of that line, reach out and we’ll take it from there. Garage Door Repair Centreville handles repair, springs, openers, and full installation, and our emergency service is ready when a door needs to be secured or freed. For a free estimate, call (855) 497-3217. We’ll quote the job before we start, so you know exactly what you’re paying for.
Written by the team at Garage Door Repair Centreville.